Electric vehicle charger installation is becoming more common as EVs are now a regular sight on our roads—not just a thing of the future. One big perk for EV owners is being able to charge their car at home, avoiding regular visits to public charging stations. But setting up a home charger takes some planning. It’s important to understand the steps involved to make sure the setup is safe, efficient, and follows local rules.
Know Your Charging Needs

Before installing an EV charger at home, the first thing to do is figure out what kind of charging you need. There are three levels of EV charging, but for home use, you’ll mostly be looking at Level 1 and Level 2 options.
Level 1 Charging: Simple but Slow
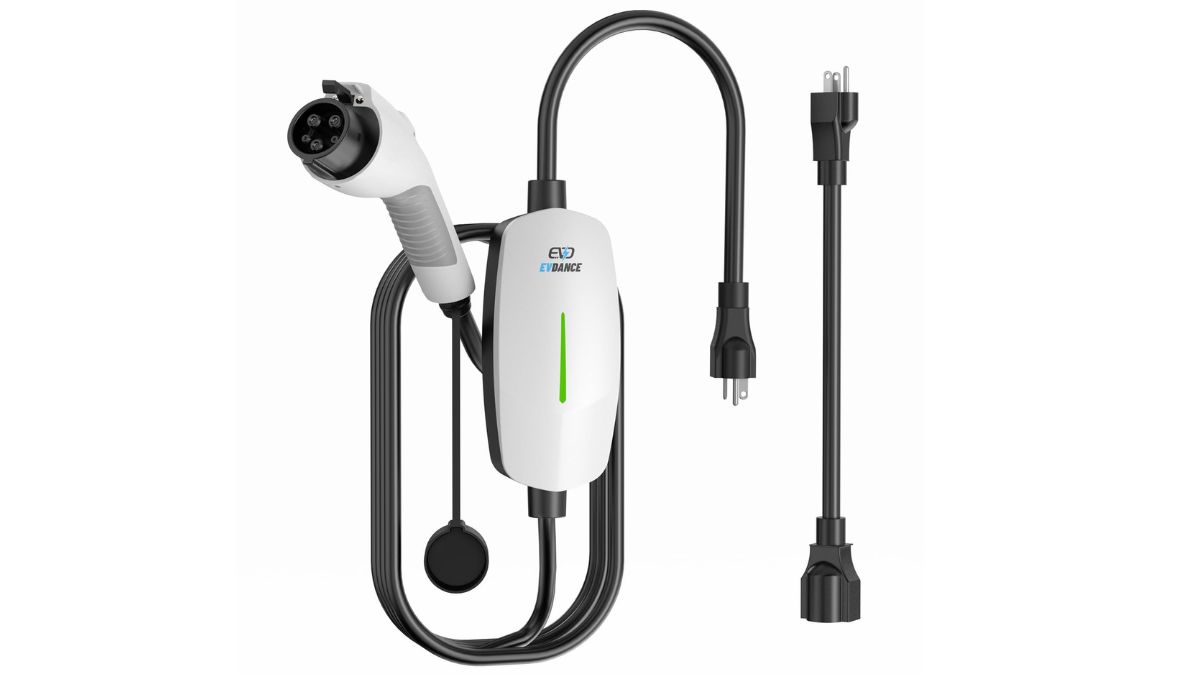
Level 1 charging is the most basic type and uses a regular 120V household plug. It’s often called “trickle charging” because it’s quite slow—only adding a few kilometers of range each hour. The good thing is, it doesn’t need any special setup. However, it’s best for plug-in hybrids, EVs with small batteries, or people who don’t drive much and can leave the car charging overnight.
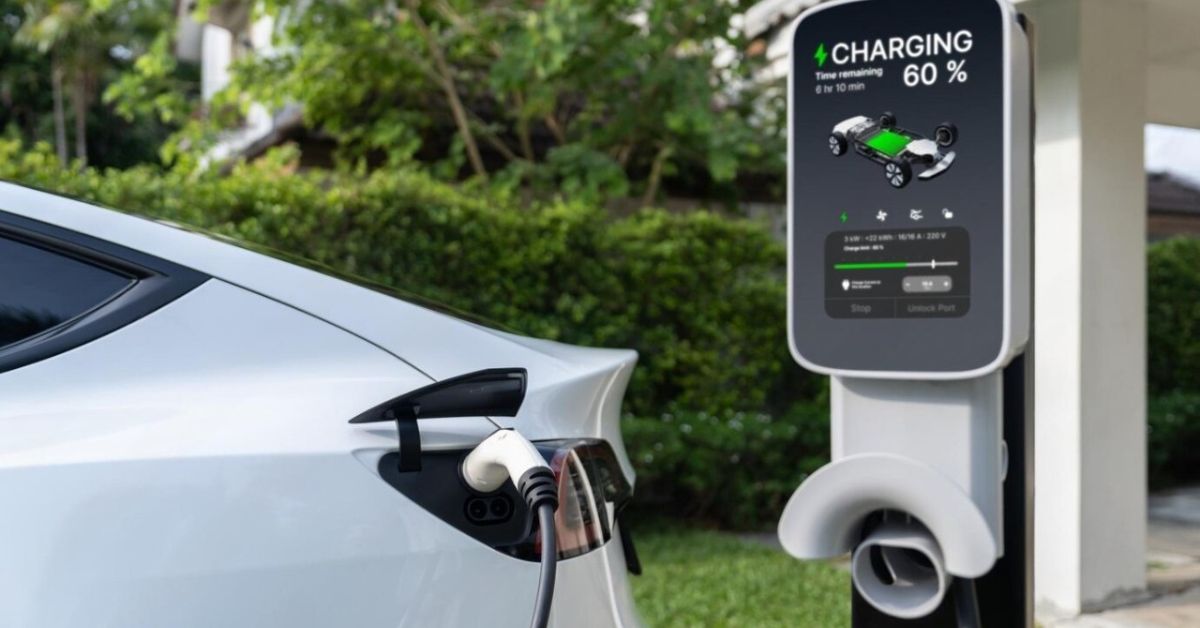
Level 2 Charging: Fast and Ideal for Home Use
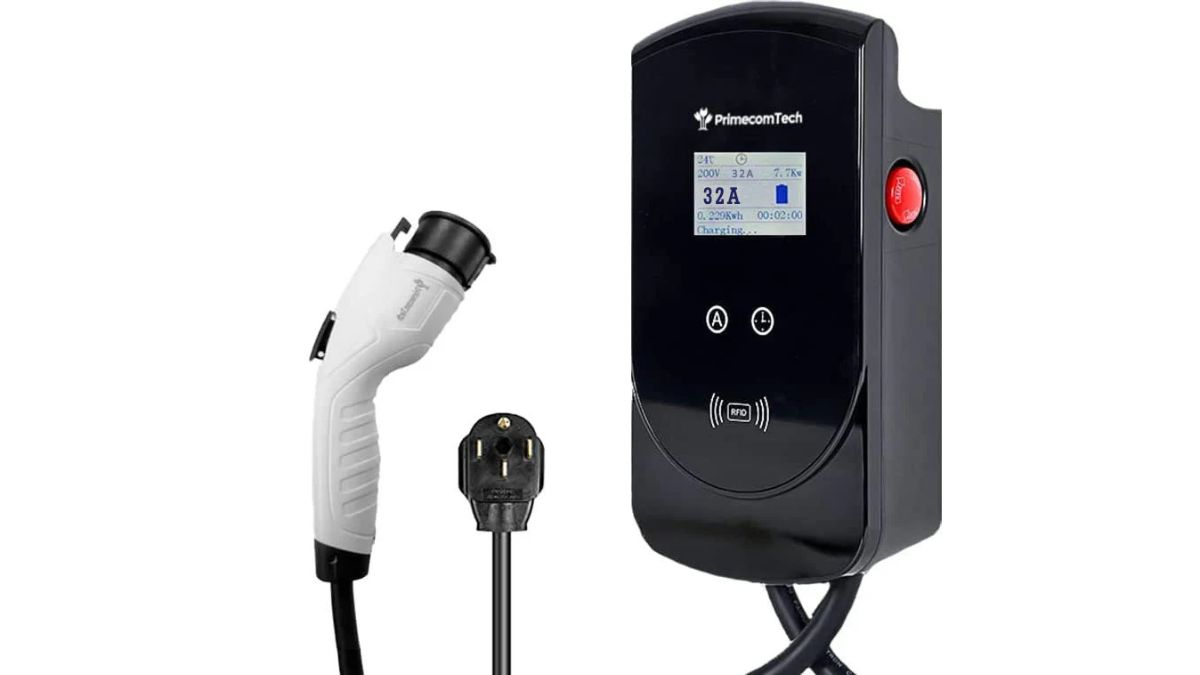
Level 2 charging is the most common and recommended choice for home EV charging. It uses a 240V outlet, like the kind used for big appliances such as ovens or dryers. With this setup, you can usually add 30–60 kilometers of range per hour, which means most EVs can be fully charged overnight. It’s a big upgrade in speed and makes daily driving and longer trips much more convenient.
Check Your Home’s Electrical Capacity First
After choosing your charger, the next important step is to make sure your home’s electrical system can support it. A Level 2 charger needs a dedicated 240V circuit, usually rated between 40 to 60 amps. A licensed electrician will need to inspect your electrical panel and do a load calculation to see if it can handle the extra power without causing any issues. If you live in an older home, you might need to upgrade your panel or even get a service upgrade from your utility company, which could increase the cost and effort involved.
Pick the Best Spot for Your Charger
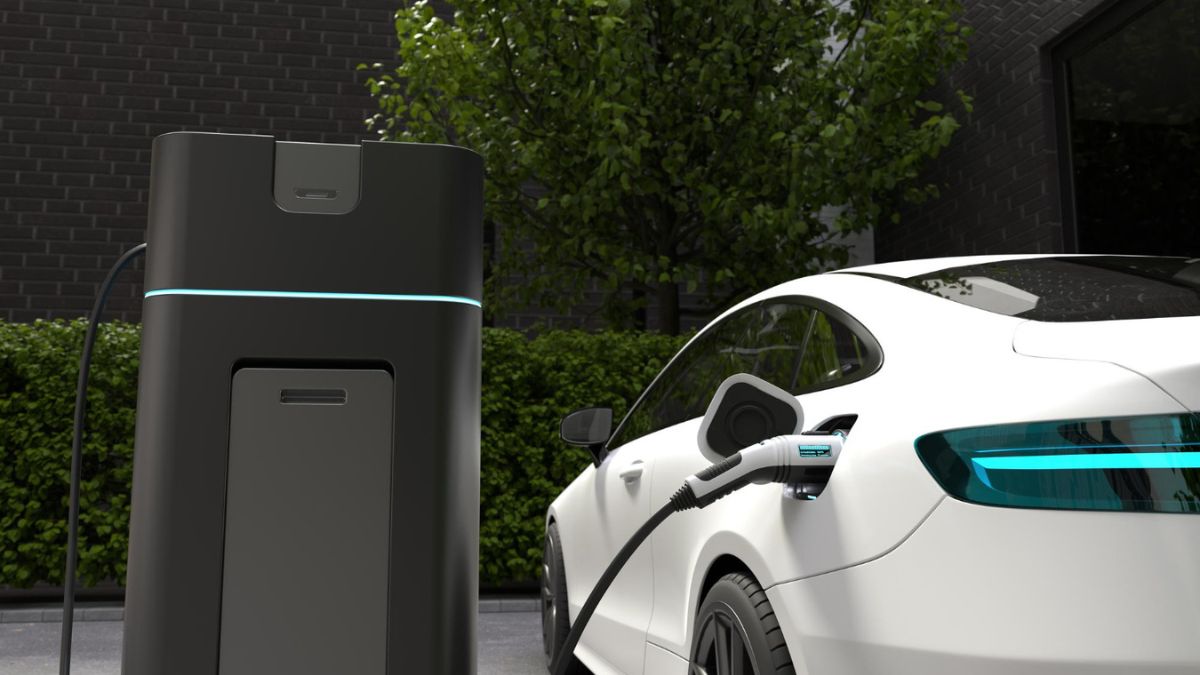
It’s important to place your EV charger in a smart and convenient location. Ideally, install it close to where you usually park your car—whether that’s in your garage or on your driveway. Try to keep it near your electrical panel to cut down on wiring costs. If it’s going outside, make sure it’s protected from the weather. Also, think about how easy it will be to plug and unplug the charger, and make sure the cable is long enough to reach your car’s charging port without any hassle.
Hire a Licensed Electrician for Safe Installation
It’s very important to get a trained and licensed electrician to install your EV charger. This isn’t something most people should try to do themselves because it involves complex electrical work and safety risks. A professional electrician who knows EV charger setups will:
What the Electrician Will Do During Installation
- Check your electrical setup: The electrician will see if your panel has enough capacity, plan where the wiring should go, and let you know if any upgrades are needed.
- Manage permits and inspections: For Level 2 chargers, most places require a permit. A licensed electrician will usually take care of applying for it, follow local codes, and make sure everything is safe and legal—important for safety and also useful if you ever sell your home.
- Install the charger: They’ll run a special circuit from your panel to where you want the charger, either plug it in or hardwire it, and make sure everything is properly connected and grounded.
- Test everything: Once the installation is done, the electrician will test the charger to make sure it works correctly and safely.
Safety First During Installation
Safety is the most important part of any electrical work. That’s why it’s essential to follow all national and local electrical rules—like the National Electrical Code (NEC). This means making sure the charger is properly grounded, protected by devices like GFCI breakers, and that only certified, safe equipment is used. If the charger is installed outside, it also needs to be weatherproof. A licensed electrician will make sure everything is set up safely and correctly.
Understanding the Cost of EV Charger Installation
The cost to install an EV charger at home can vary depending on a few key things:
- Charger Type: Level 2 chargers cost more than basic Level 1 chargers
Electrical Upgrades: If your home’s electrical panel needs an upgrade, the cost can go up a lot. - Electrical Upgrades: If your home’s electrical panel needs an upgrade, the cost can go up a lot.
- Distance: The farther the charger is from your electrical panel, the more it costs in materials and labor.
- Installation Difficulty: If your home’s layout makes wiring tricky, it can make the job more expensive.
- Permit Fees: These depend on where you live and can also add to the total cost.
Why Installing an EV Charger at Home Is Worth It

Even though installing an EV charger at home might feel like a big cost upfront, it pays off in the long run. You’ll save time and money by avoiding public charging, and it can even add value to your home. With proper planning and the help of a skilled electrician, you’ll have a safe and dependable setup that keeps your EV ready to go every day.